
Add new WooCommerce Product
This guide will walk you through the process of adding a new WooCommerce product. It’s crucial to start by creating the product in English, which serves as the base language, before translating it into other languages.
Step 1: Create a new product
Go to ‘Products -> Add New‘.
Fill in the product titel and product description. The description is the text that will appear on the product page itself. Make sure the product description clean, clear, commercial and free of spelling mistakes
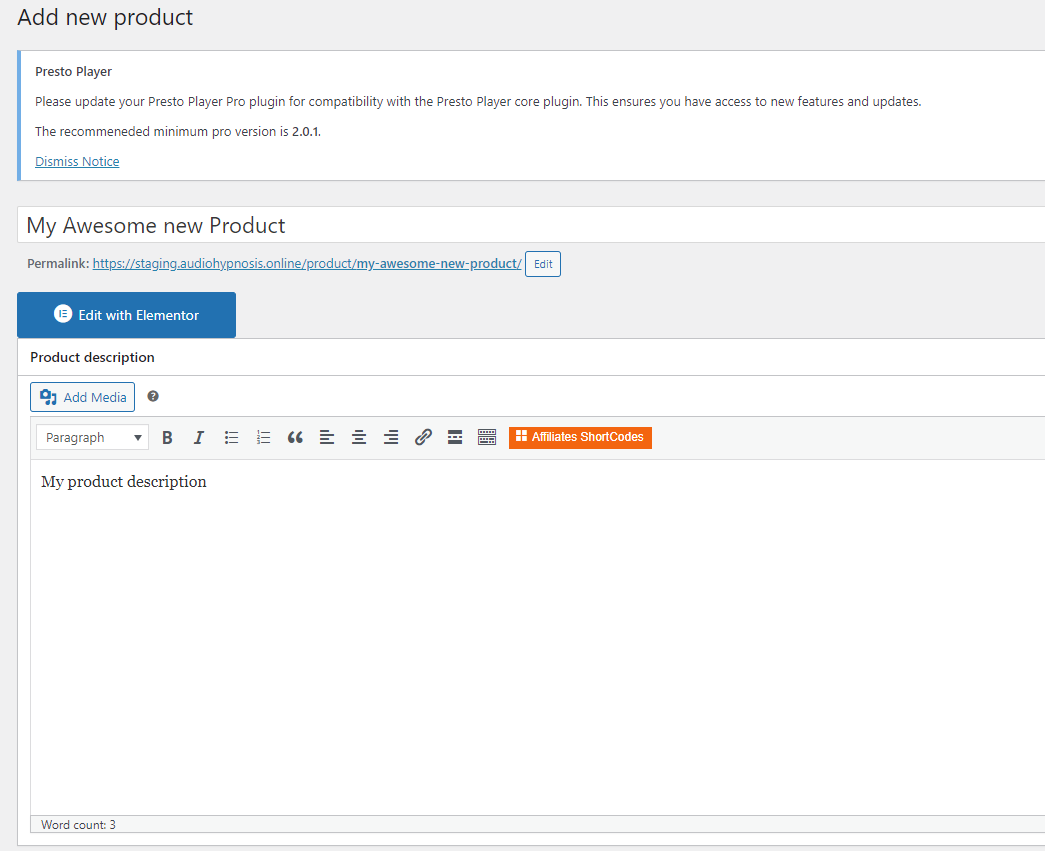
Scroll all the way down until you find the ‘Short description field’. The text in the short description will be displayed on webshop pages that display multiple products. Make sure the Short description is… short! The text must be clear, descriptive and free of spelling mistakes.

Step 2: Add variations
Now its time to set the product data. Scroll back up a bit until you find the ‘product data’ section.
In the product data section, change the dropdown menu from ‘simple product’ to ‘variable product’. Even if there is only 1 variation at the moment, by setting it variable in the beginning, it will be easier to add new variations in the future.
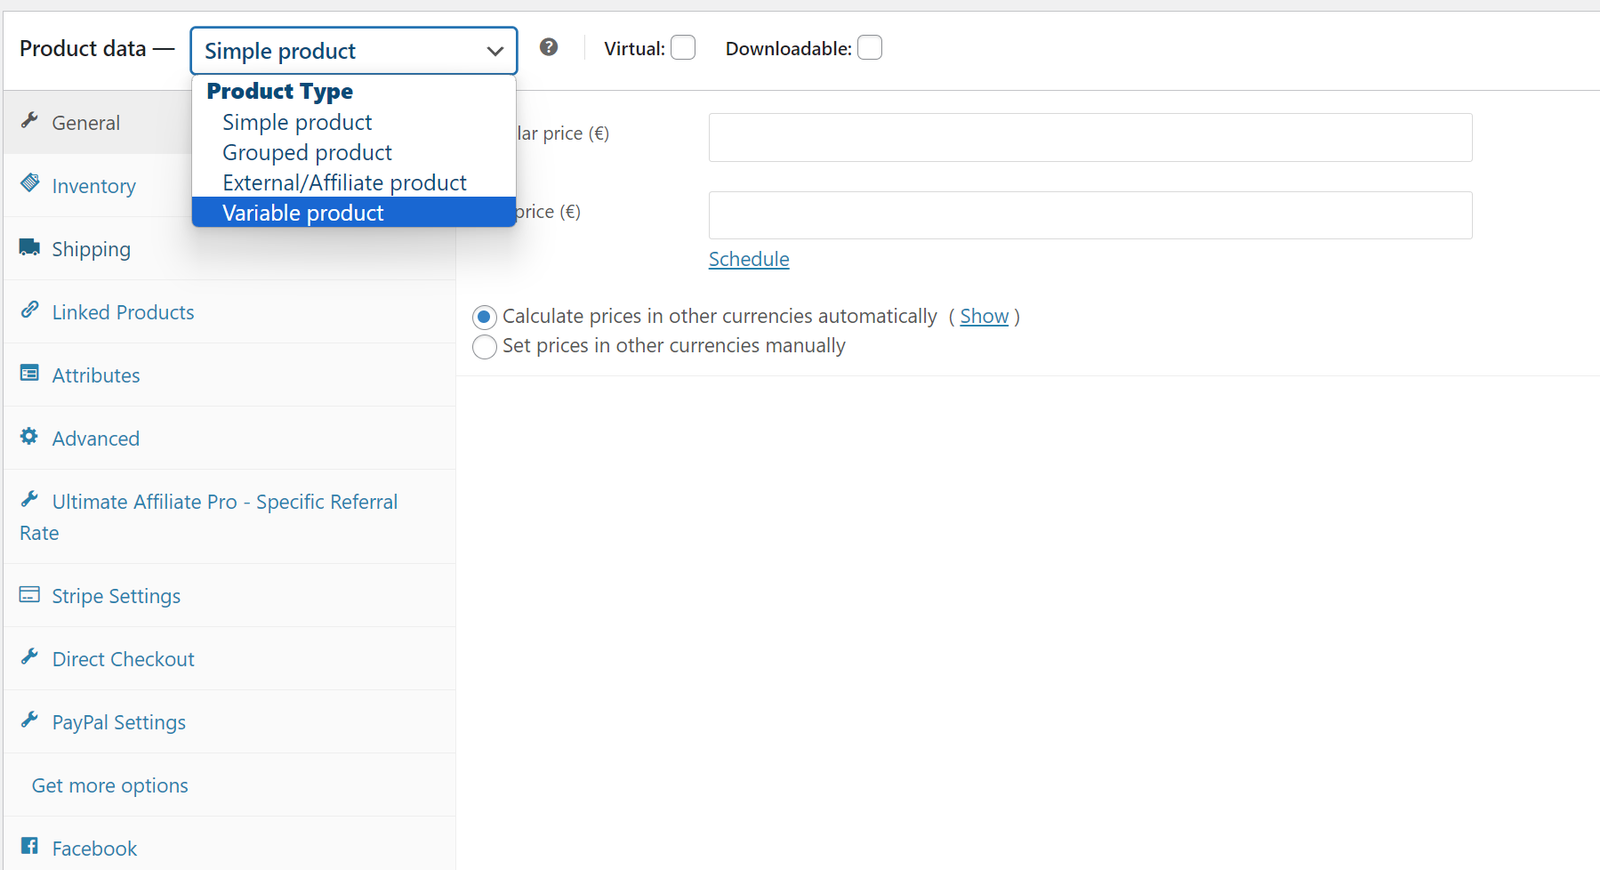
Once the product has been set to ‘Variable product’ visit the ‘Attributes’ tab.
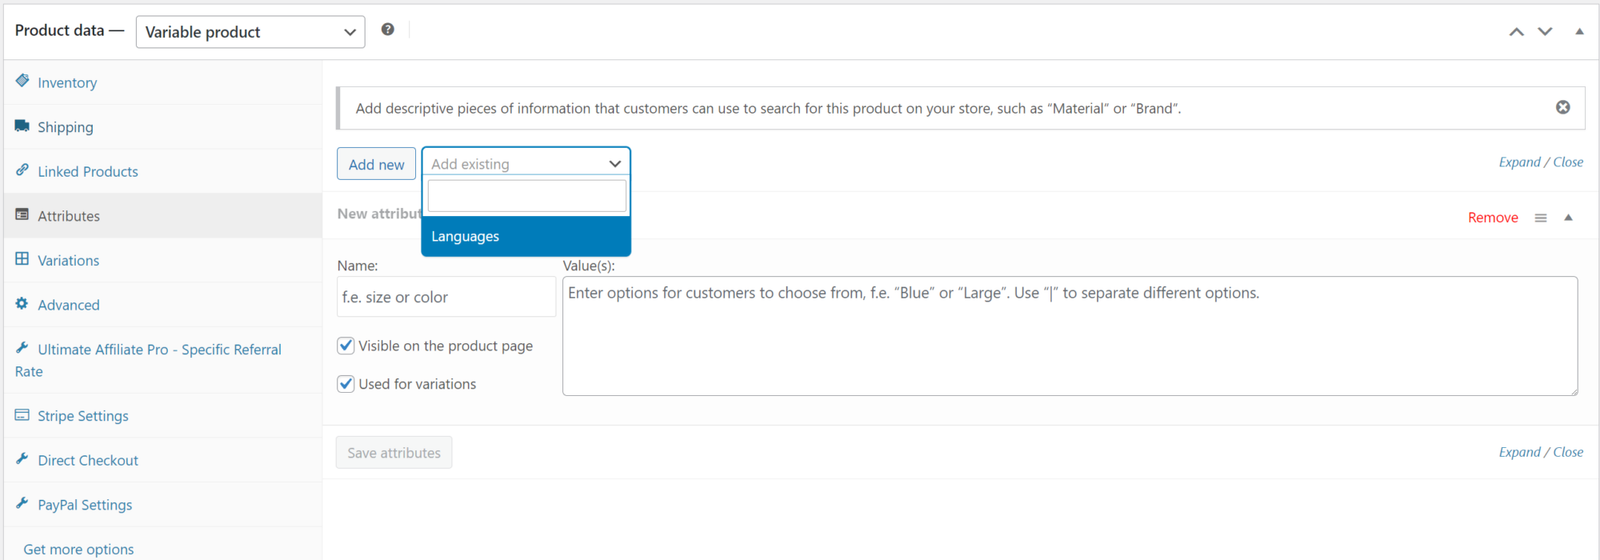
In the Attributes tab, do NOT click on the ‘Add New’ button. Click on the ‘add existing’ drop down instead and select the ‘languages’ attribute (It may take a few seconds before ‘languages’ becomes visible and selectable).
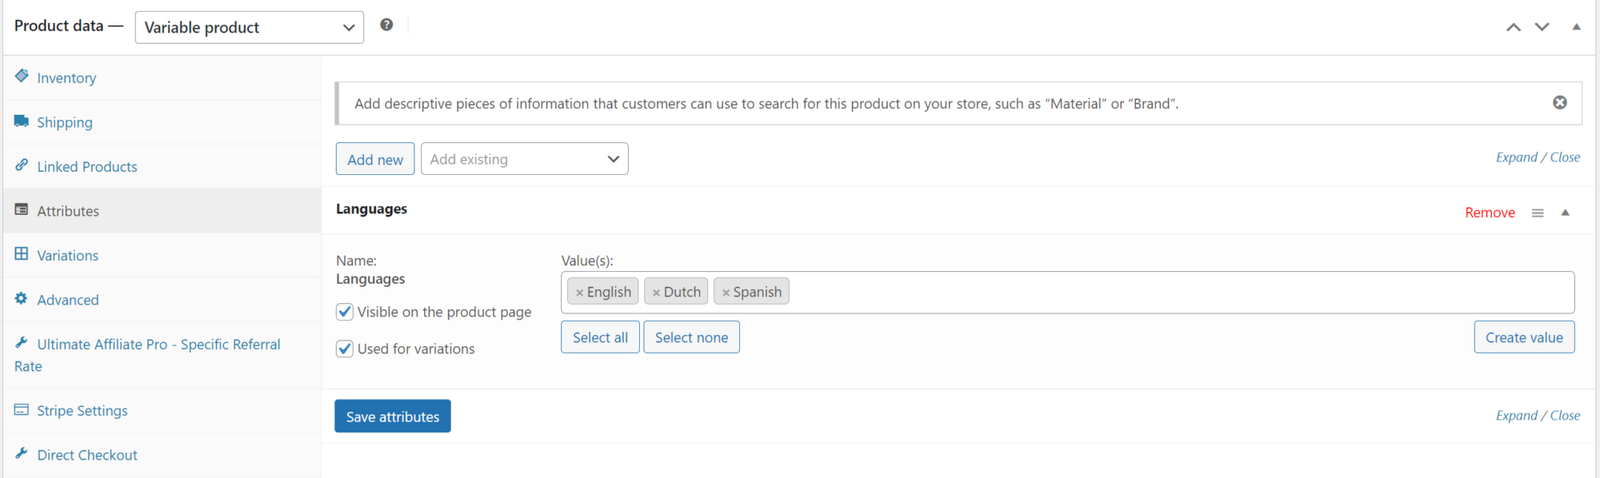
With the languages attribute now added to the product, add the the terms for witch you want to make a variation. For example, if you have audiofiles in Dutch, English and Spanish, you will only add Dutch, English and Spanish here.
Can’t find the language attribute your looking for? Click ‘Create value’ and proceed with Step 2 in the ‘Add new language attribute to webshop‘ procedure before continuing.
IMPORTANT: ONLY add terms you are going to add variations for. WooCommerce and every other plugin that can filter products on attributes will look at the values you defined here, not the variations you actually created.
Make sure the ‘visible on the product page’ and ‘Used for variations’ checkbox is ticked and click the ‘Save attributes’ button.
Proceed to the ‘Variations tab’.
Click the ‘Generate variations’ button. When adding a new variation to an existing product it’s safer to click the ‘add manually’ button.

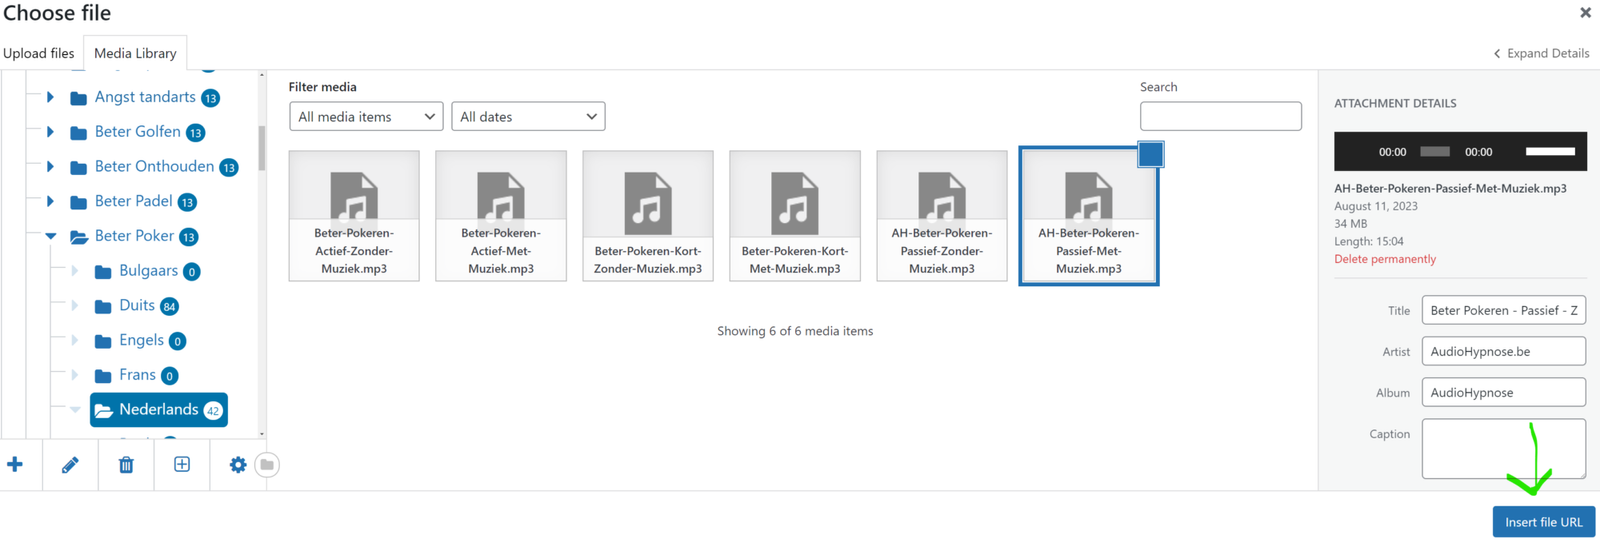
With the new variation(s) created, it’s time to configure each variation with a price and add the appropriate audio files to the correct variation. To be able to add audio files make sure the ‘downloadable’ checkbox is checked.
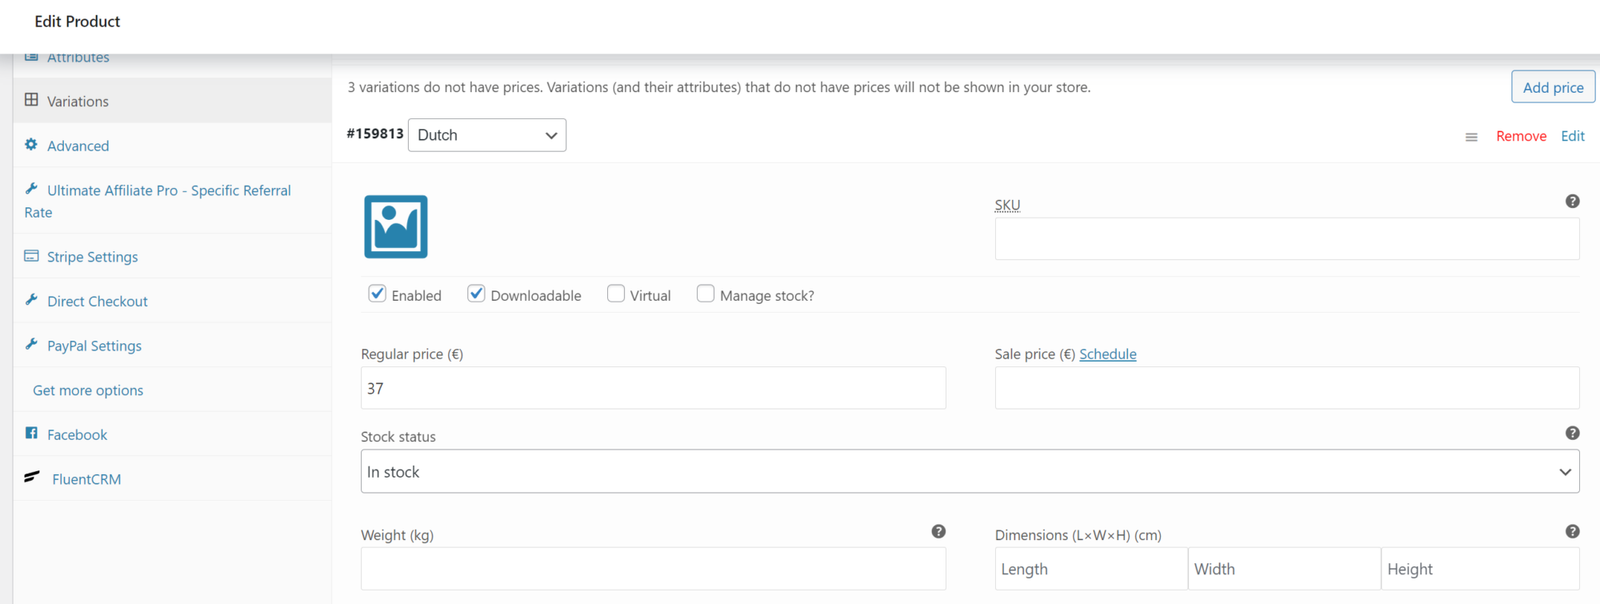
Set price and add the appropriate audio files.

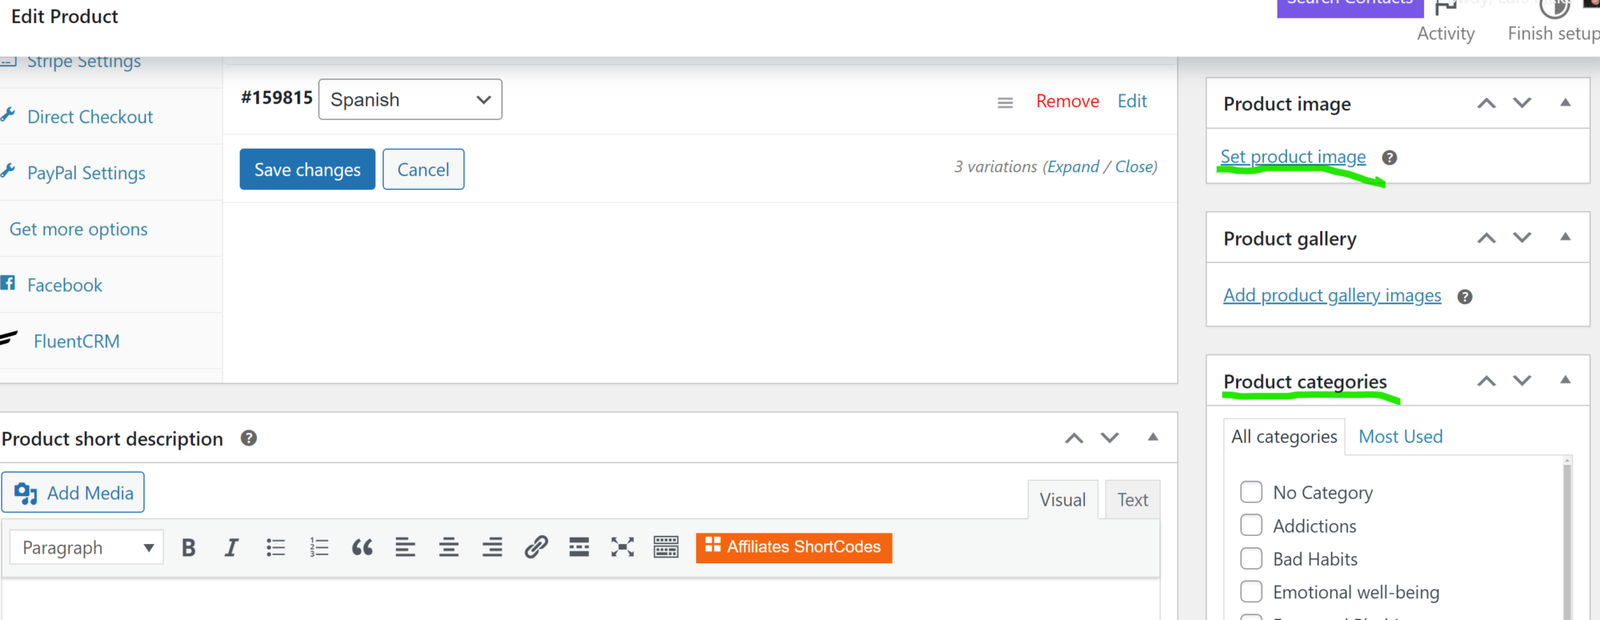
Once all variations are properly configured; click the ‘save changes’ button.

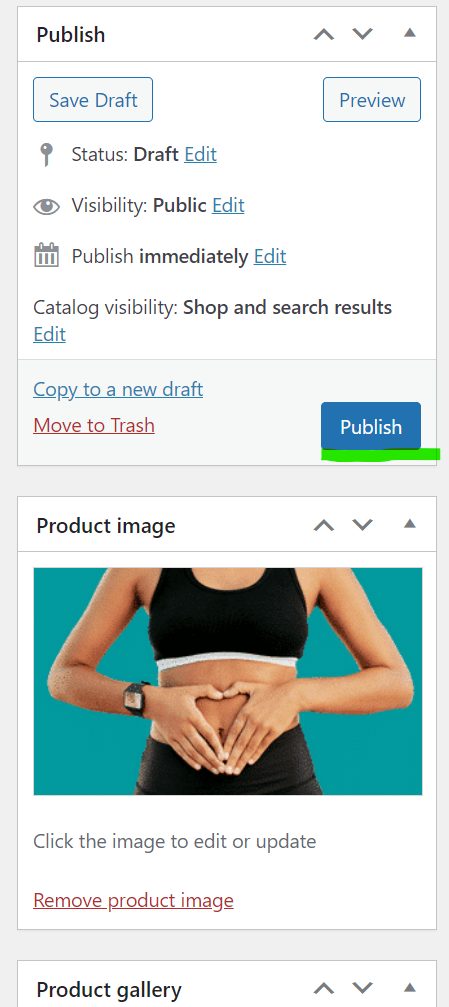
Set the product image and select the appropriate product category(s).
Finally, double check if everything is correct and if everything is to your satisfaction, click ‘publish’.
Congratulations, your product has been published! Don’t forget to visit the product page and doublecheck if everything is displayed correctly.